Price: $19.95 - $17.95
(as of Apr 10, 2025 17:59:44 UTC – Details)
From the brand


FEATURED PRODUCTS


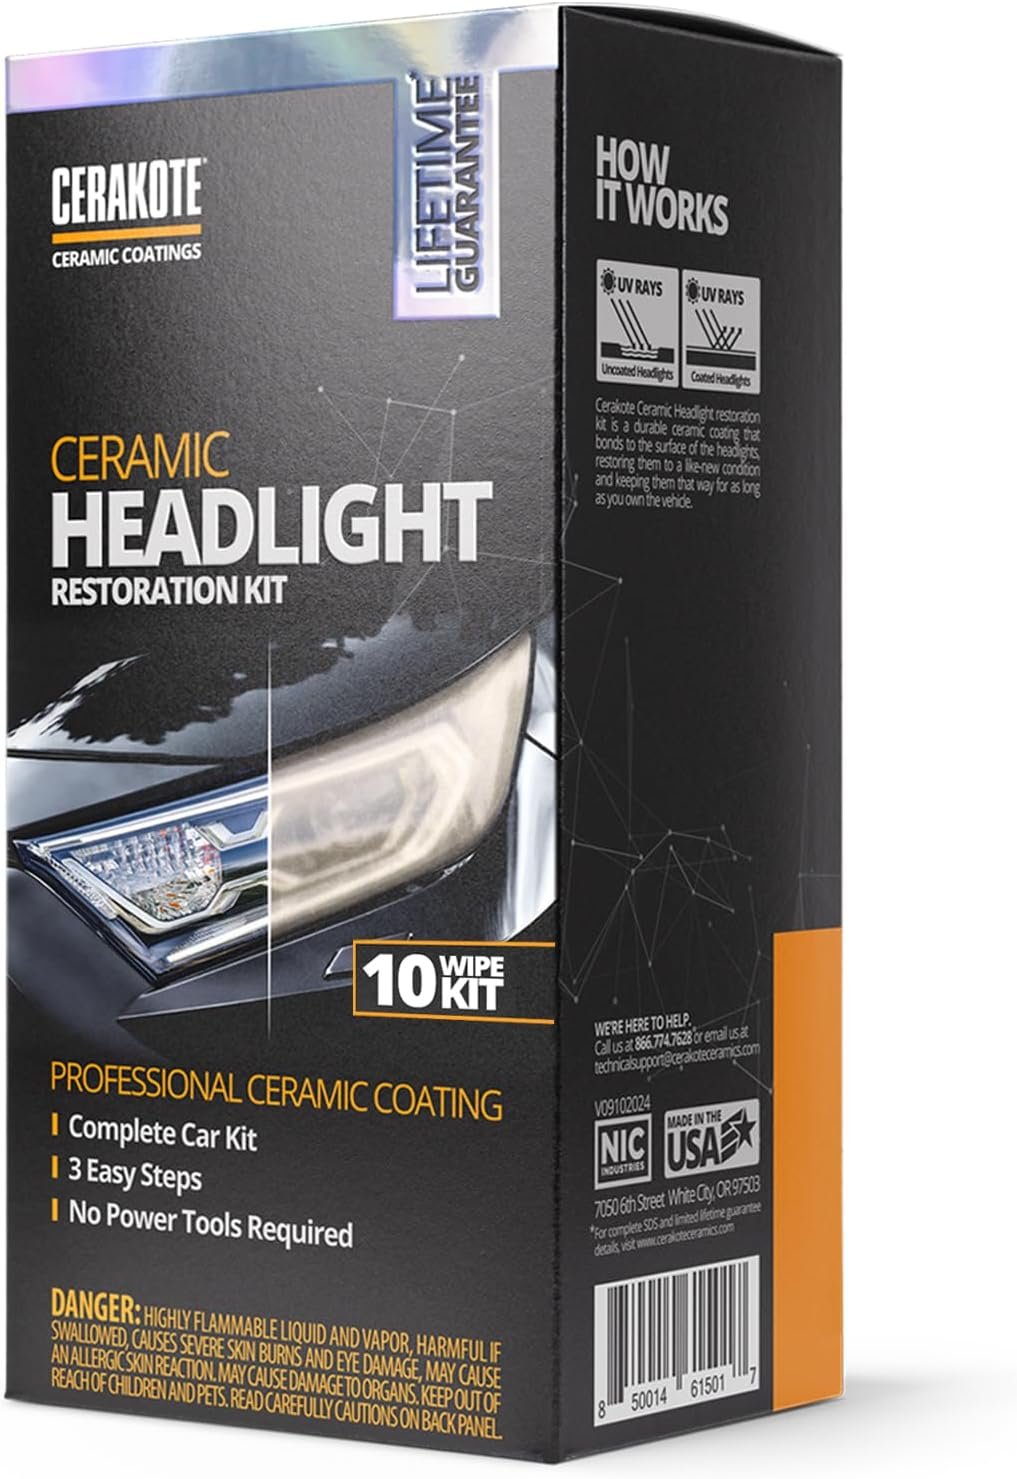
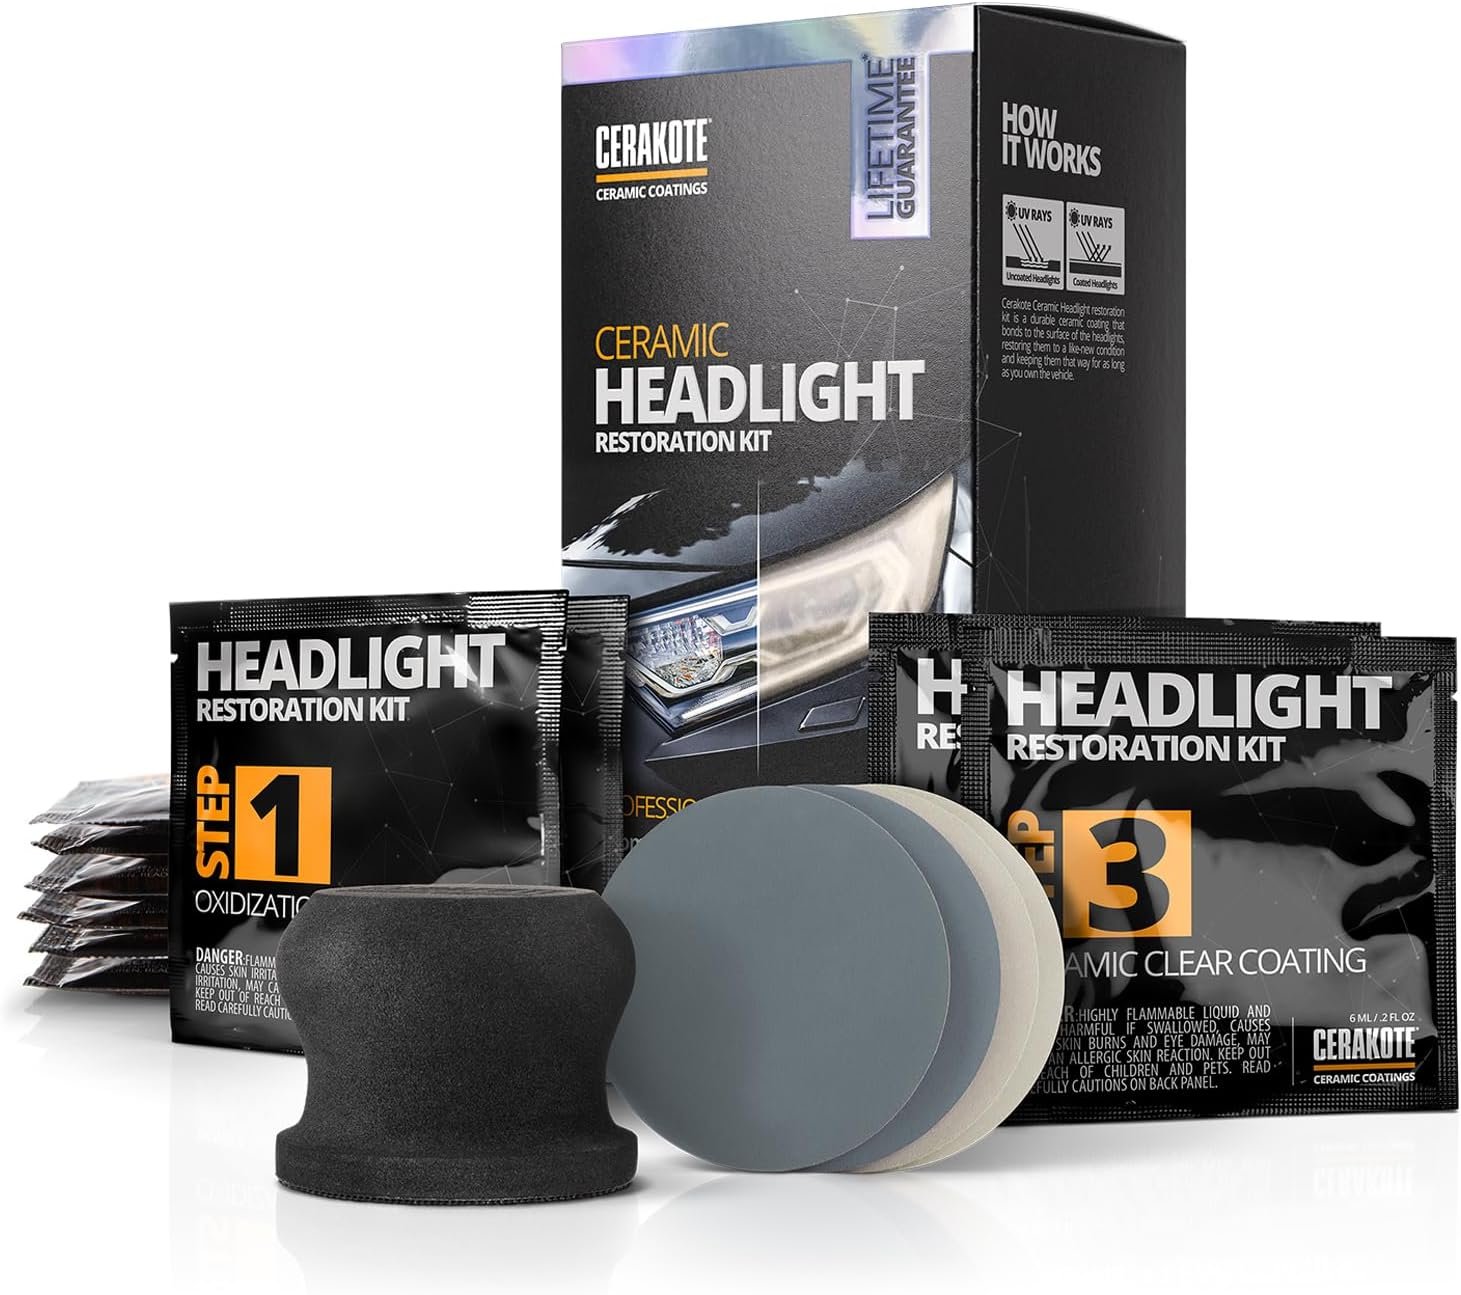
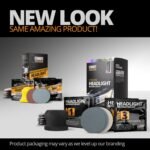
KIT CONTENTS – Each headlight restoration kit includes (8) Step 1 Oxidation Removing Wipes, (1) Step 2 Sanding Kit, and (2) Step 3 Ceramic Coating Wipes.
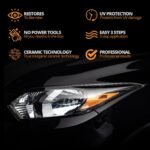
LASTS AS LONG AS YOU OWN YOUR VEHICLE! – This is a CERAMIC coating for cars that chemically bonds to your headlights and provides UV protection for as long as you’ll own your vehicle.
NO POWER TOOLS REQUIRED – Everything is included in the kit for your car. There are no tools required that could potentially damage your headlights or paint.
RESTORES AND PROTECTS FROM UV! – Our CERAMIC coating wipes provide a layer of UV protection that will last as long as you own your vehicle. We believe in providing our customers the best products on earth, the first time.
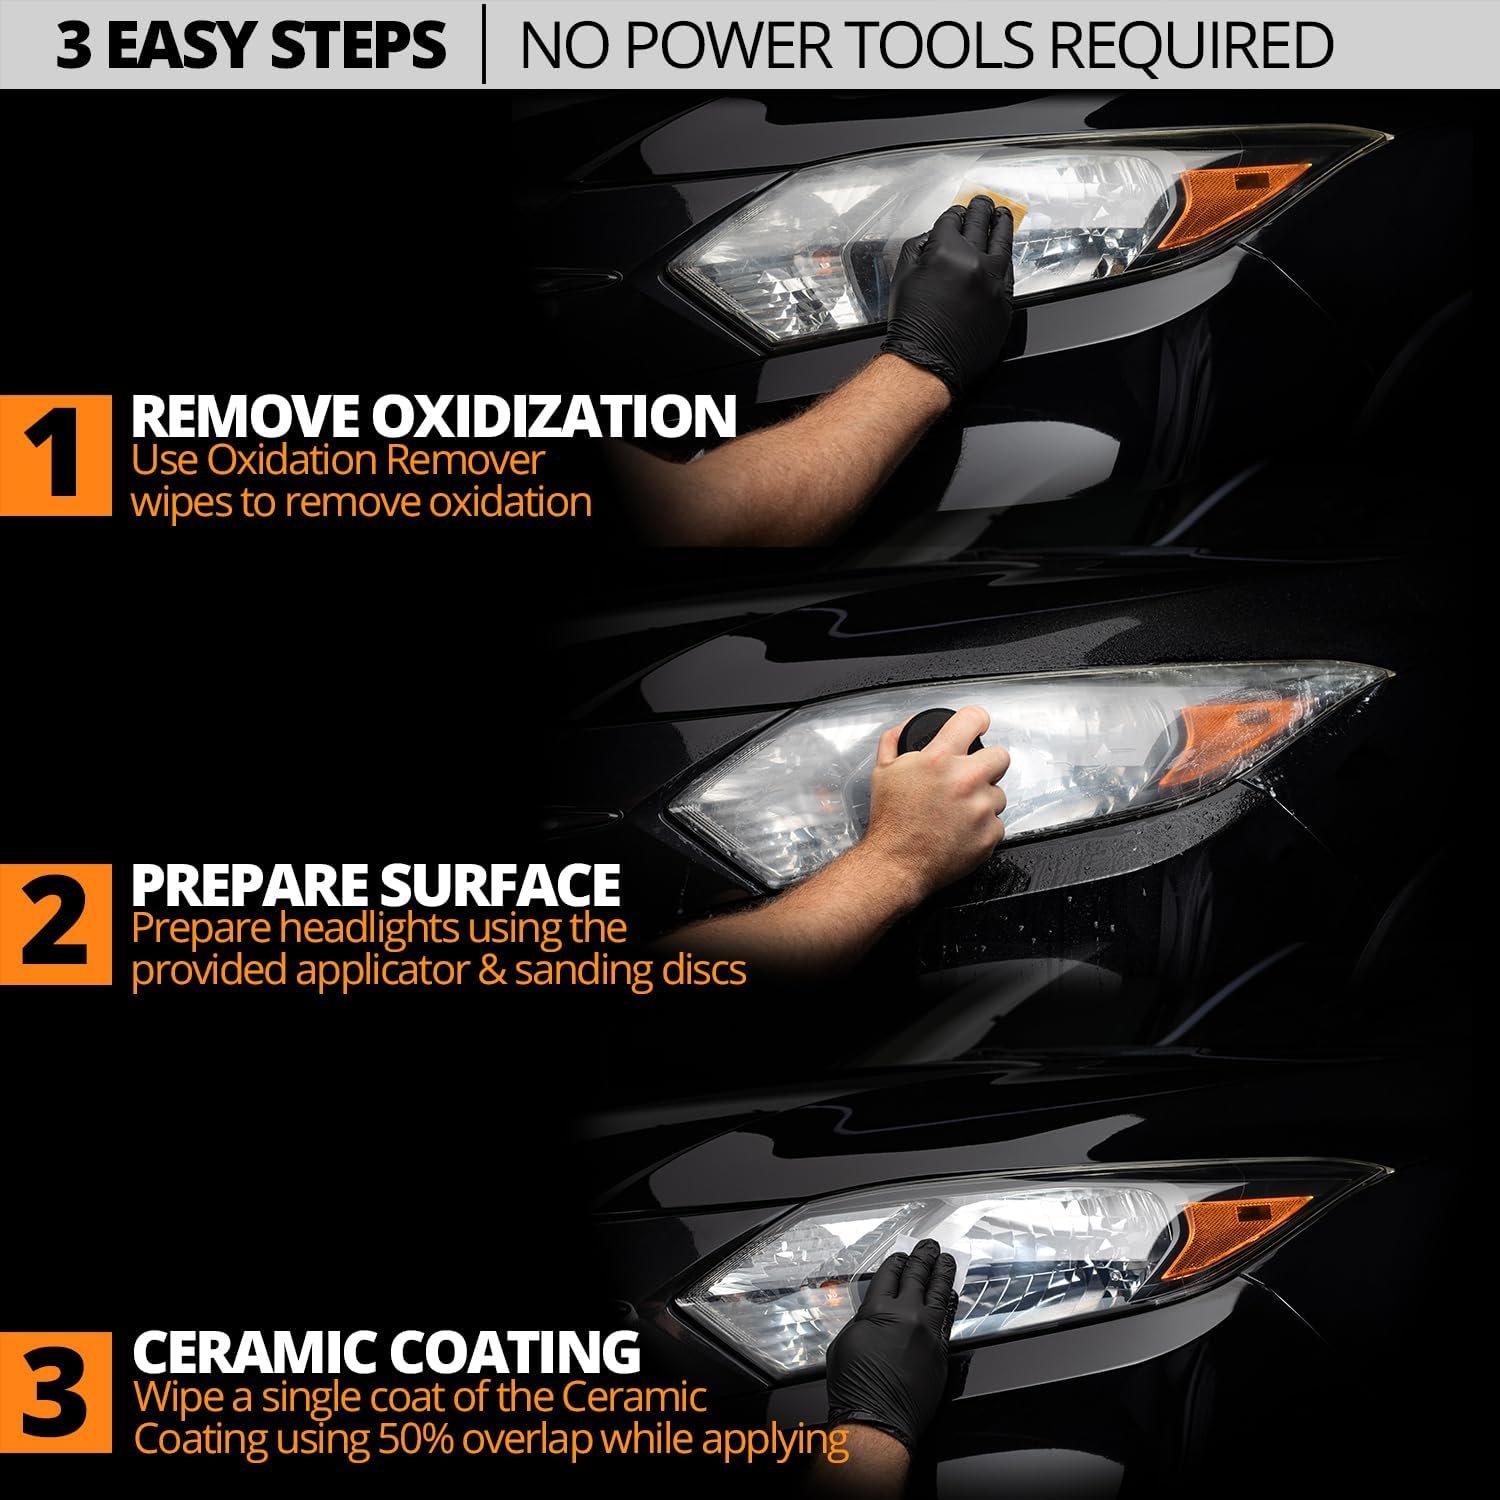
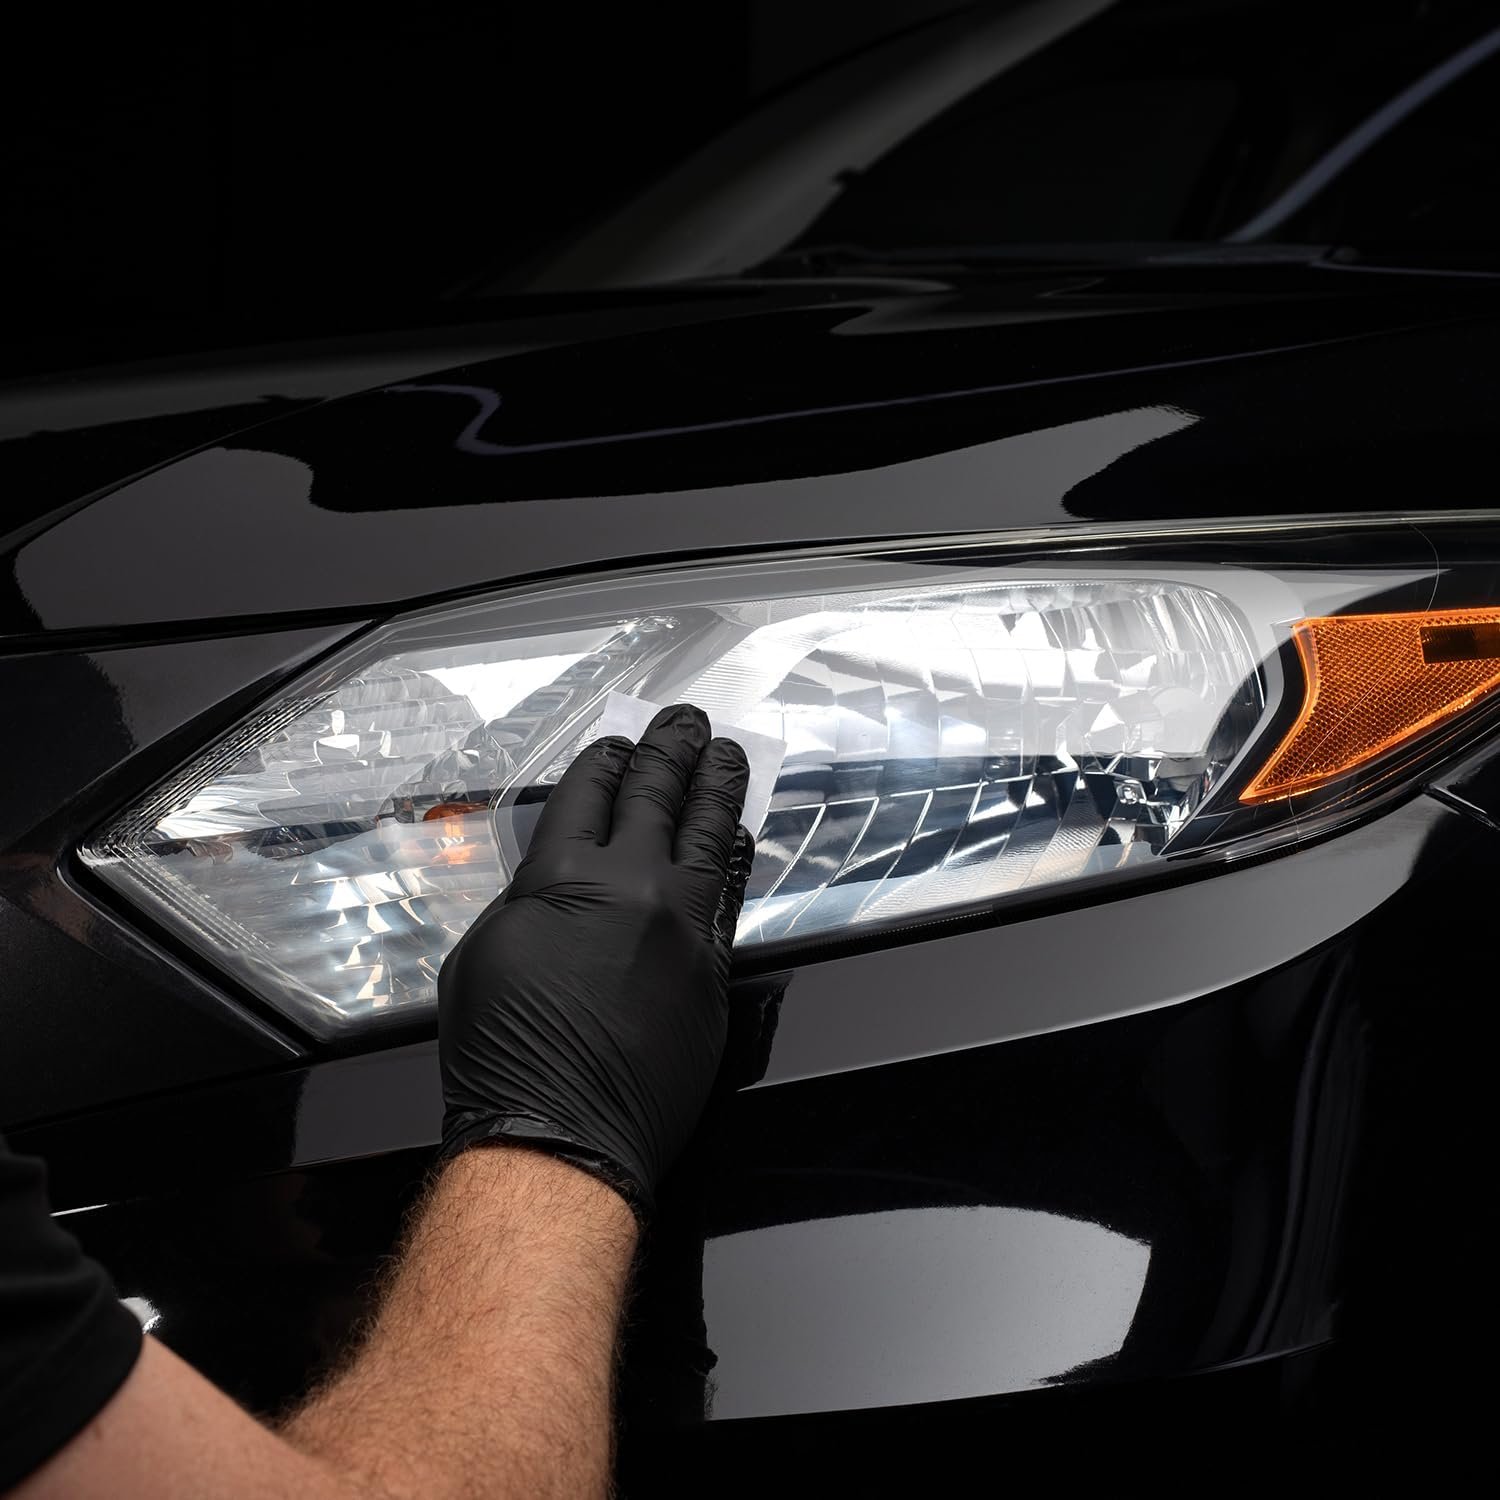
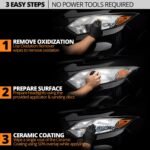
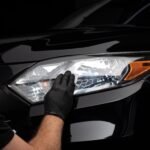
3 EASY STEPS! – Cerakote’s Headlight Restoration Kit is a simple, 30 minute process. Step 1: Our Oxidation Remover wipes remove stubborn oxidation. Step 2: Using our supplied sanding materials, remove any remaining deep oxidation. Step 3: Cerakote’s industry leading ceramic restores the headlight to like-new!
WHY TRUST CERAKOTE? – Cerakote is regarded as the world’s leading innovator and manufacturer of true inorganic ceramic polymer technology. The ceramic polymers and coatings produced at Cerakote’s US facility are trusted by some of the most advanced aerospace, automotive and technology companies in the world. Rely on the industry leader to protect what matters to you.
Customers say
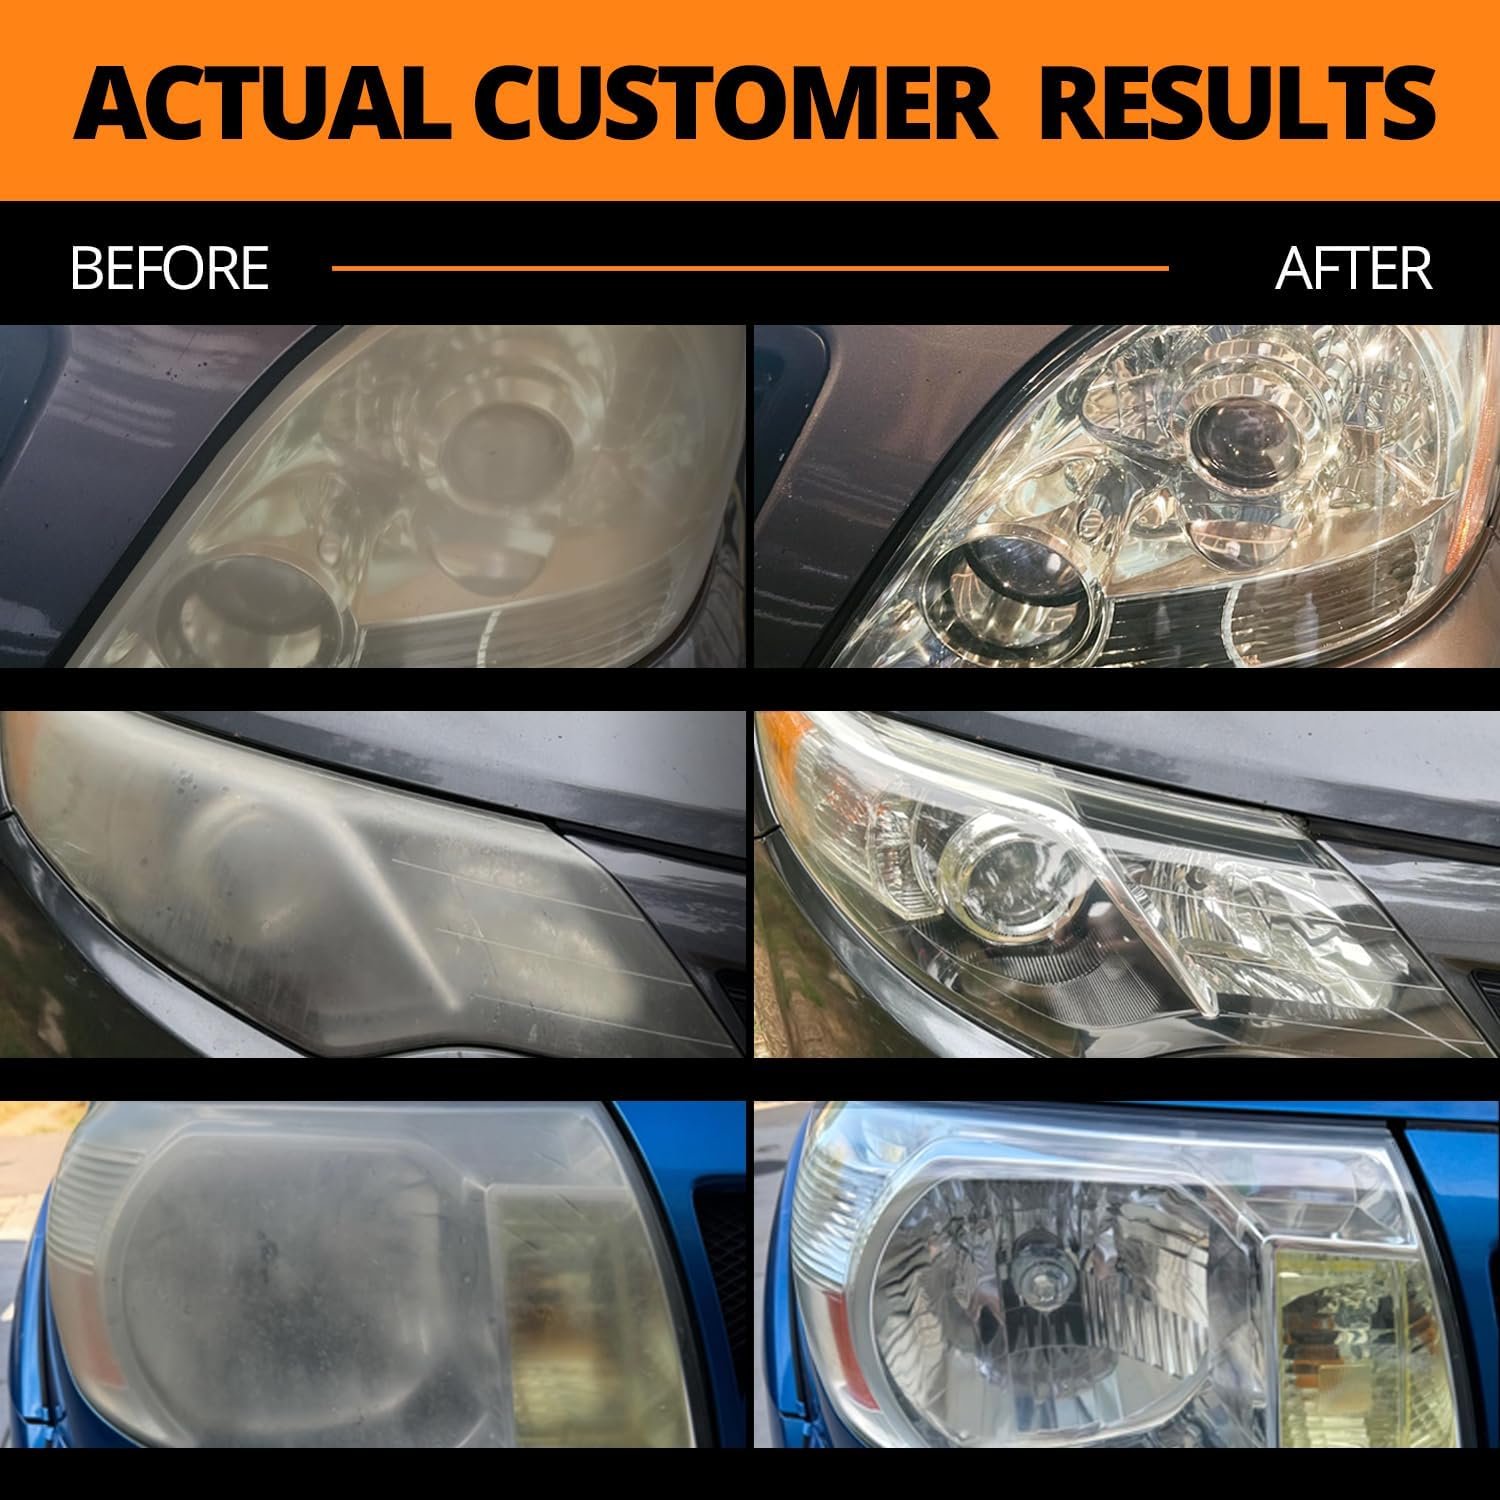
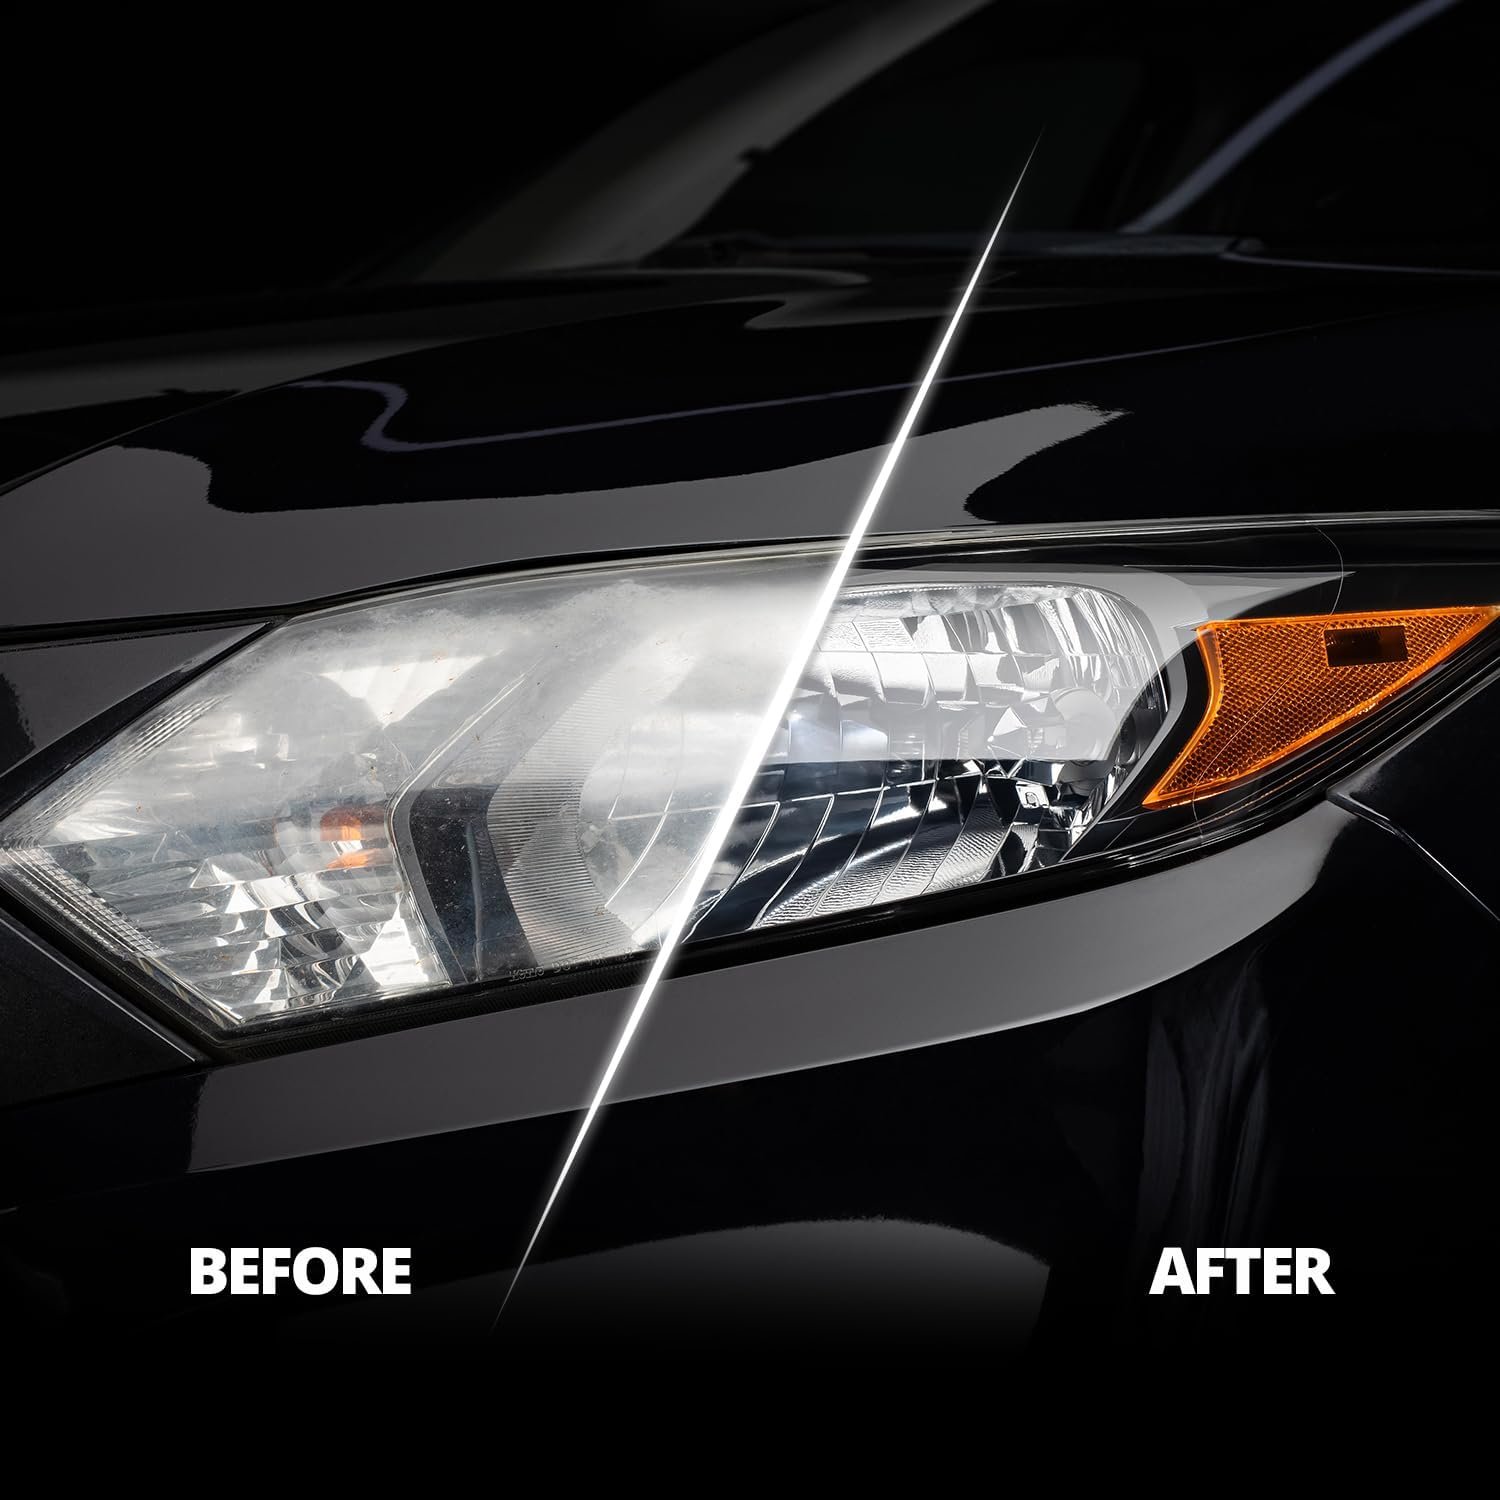
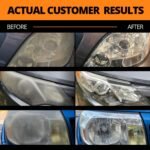
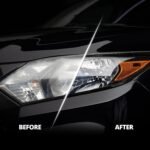
Customers find the headlight restoration kit effective, with one mentioning it worked well on a 14-year-old Tundra, and they appreciate its ease of use, requiring no special tools. The product restores headlights to like-new condition, making them look brand new and brighter, with customers noting they throw more light on the road. While many report their headlights becoming crystal clear, some mention they remained slightly cloudy after treatment.











JP –
Amazing!
I just wanted to reach out and share my experience with your Headlight Restoration Kit—I’m genuinely impressed!I purchased it through Amazon and was pleasantly surprised by how affordable it was. Even better, the application process was incredibly straightforward. In just three easy steps, I was able to restore the headlights on my FJ Cruiser to look good as new—clear, bright, and like they just came off the lot.I’ve attached a few pictures of the process and results to show just how effective the kit was. The transformation speaks for itself.Thanks for creating such a high-quality product that delivers real results with minimal effort. I’d be excited to explore any potential opportunities to collaborate or represent Cerakote products—I’m already a fan.
Katelyn S. –
Great kit!
I bought two of these and used one for each of my cars.My Cougar was hit while parked last year so I’ve been working on it since the accident. Looking for headlights is near impossible as this model year wasn’t popular and companies just don’t make headlights for it anymore. Trying to find a second-hand new set is also next to impossible- the 90s cougars really just are NOT popular cars. So I resorted to trying this to restore the headlights while I wait for some other parts to come in for reassembly. I’ve used a kit to clean these before, but this kit seemed to do a better job. While still yellowed, they are significantly more clear than beforeFor my LR3, the main issues was less oxidation and more corrosion and cloudiness of the plastic. I was hopeful that this kit would restore the clearness of these headlights so I didn’t have to replace them. I want to sell this vehicle in a good year or two, so I’ve been slowly fixing things up on it. This was just one of my experiments, and we will see how long it lasts before I really do have to get new assemblies in there.Overall, I’m super happy. Both my cars look a lot cleaner. We will see how long it lasts, as I finished this project tonight. So far so good.The steps were super simple to follow and there is a LOT of equipment. I was expecting 2 oxidation wipes, one for each side, but my kit included FOUR for each side, which was an awesome surprise. For the price I think it has a lot of quality. I also really appreciated two sets of gloves, so you don’t have to reuse the ones from the first step for the last. Super simple process, and even if you aren’t sure whether or not it’s going to make much of a difference – as I did with my Merc- at least give it a try. What’s $16 in this economy?
Michael Fabian –
Cheap and Easy Headlight Restoration
I can’t say enough about the results and quality of the Cerakote headlight restoration kit. The instructions were clear and easy and the process was quick with excellent results. The headlights on my daughter‘s 2011 Honda CRV look like they are brand new. The kit does not require any special tools and the entire process for two headlights took about 30 minutes. Unlike other restoration products, the results are guaranteed for life.
Predrag Kos –
Easy quick and reasonably priced
Kit is easy to use, very quick to apply. Results are very good. How long it will last remains to be seen.
J –
It’s almost like magic, it’s unbelievable…
This product works so well, the amount of effort and time you spend on it is far exceeded by the results, it’s almost like magic. Look at my before and after pictures and see for yourself.The headlights I used this on were oxidized, I normally use headlight polish on it every month or so to clear it up but it takes a lot of effort, the results aren’t amazing and it only lasts a few months. The before pictures show the extent of it after a complete wash and wipe down with isopropyl alcohol. The instructions were clear, though I did notice one typo, it mentions to use a red sanding pad followed by gray, but my kit came with red and green, I just assumed green for gray and it was fine.After washing the headlights you must dry it thoroughly and if you sprayed water all around, dry or soak up as much water from the surrounding area as possible. This is important, you don’t want wind to move standing water so that it sprays onto the headlight at the worst time (like the clear coat step), take no chances. If you have an electric duster, an 18V job site blower, or an air compressor, use those to blow all standing water away.If you get water into the hood while washing, don’t lower the hood until the headlights are fully done and you waited for the clear coat to dry/cure completely according to instructions. The hood in the up position can hold water in it, it has drain holes to drain water out when it’s laying down flat, if you lower the hood before the clear coat is dry the water will run out of the drain holes right onto your uncured headlights, leave the hood up.Most of the time and effort you spend will be on the sanding step and that depends on the size of your headlight and how intricate it is, headlights with intricate designs and reliefs will be annoying, you’ll have to use the sandpaper by itself without the foam grip and fold it and spend a lot of time on edges and corners. In addition to the instructions I highly recommend you mask off the entire surrounding area with painter’s tape, make sure you fold the painter’s tape over and into the gap between the headlight and the bumper or fender.The nail biting part is at the end when you’re applying the clear coat, you obviously don’t want to mess it up, you’re undoubtedly going to notice you missed a tiny spot, despite the directions saying not to go over it in multiple passes, I did it anyway and it turned out fine, you just want to do it quickly before it has time to set. The clear coat is sorcery, it self levels, I even saw a few tiny air bubbles and those all disappeared, after an hour it was dry and the finish not only looked 100% clear, it was completely free of defects and texturing, it literally (I can’t emphasize this enough) looked like a brand new headlight. I expected a clear coat applied with a small gauze pad to be uneven, have visible strokes and texturing (like brush strokes), instead it’s completely level with no marks and has no texture whatsoever, when I rub my fingers over it the surface feels shiny, reflective, slippery, like a new headlight. The result was so good I kept staring at it for over ten minutes at all angles.The whole job probably took me roughly one and a half hours from start to finish including masking, washing and drying the headlights. The sanding steps take the longest, the clear coat step is done in a minute or two. Time will tell how long it will last, if it even lasts a year I’ll be happy.The pictures show driver’s side “before” (I didn’t take a picture of passenger side “before” but it looked the same), then an after shot for both driver and passenger side.Some things about the “before” shot:1. It may look like light oxidation because you can still see through it, that oxidation is lighter than it normally would be, it hasn’t been that long since I last polished it with headlight polish. Had I left it for a few more months it would have become totally opaque.2. If you’re wondering why there’s a sharp line where it becomes completely transparent, that’s where the hood sits and blocks the UV (like a farmer’s tan).
Rodrigo V. –
Muy facil, muy entendible la aplicación, el paso 3 los deja como nuevos, en mi casi estan amarillos por dentro pero muy satisfecho, alcanzan hasta 2 carros con un kit talvez 3
Dambok –
Works.
Sebastian –
Was für ein Produkt 😍. Die Anleitung kann man bei Bedarf auf deutsch online einsehen. Die Kennzeichnung der einzelnen Arbeitsschritte und des entsprechenden Arbeitsmaterial ist fantastisch und lässt keinen Spielraum für Falschanwendungen.Der Ablauf an sich ist klar strukturiert und sollte auch eingehalten werden. Als Tip: erst den Schritt aufmerksam lesen und dann umsetzen. Besonders beim Schleifvorgang und dem Auftragen der Versiegelung!Zeitaufwand zwischen 30 bis 60 min je nachdem ob man die Vorreinigung mit einberechnet.Zum Ergebnis: einfach fantastisch. Keine Hologramme oder Lichtstreuungen nach Anwendung. In meinem Fall waren die Scheinwerfer noch nicht so stark verschlissen wie manch andere die mit matt-gelben Scheinwerfern umher dümpeln und sich wundern warum auch starke Leuchtmittel nicht mehr Lichtausbeute heraus kitzeln können.Eine klare Empfehlung und wieder traurig das nur USA und PRC in der Lage sind zweckmäßige Lösungen zu entwickeln die in ihrer Anwendung derart einfach zu handhaben sind.Wer jetzt mit TüV um die Ecke kommt: solang ihr noch keine Beanstandung bezüglich des Verschleiß an den Scheinwerfern attestiert bekommen habt ist es nicht feststellbar bei korrekter Anwendung und sauberer Ausführung. Wenn ihr bereits negativ aufgefallen seid dann wird an dieser Stelle auch penibel geprüft ☝🏼
Jennifer W –
I was sceptical that this would work because I’ve tried similar products before with no luck. It was easy and didn’t take long,’maybe 29 mins. They look brand new. Hopefully it lasts
Muhammad –
Amazing product, was told by detailers headlights can be polished but cannot guarantee it will improve much and was quoted 440 aed. Decided to try this kit and headlights looked brand new. Will definitely recommend this product.